How-to
How to use a pressure canner
Published
Short answer
Follow a tested USDA or NCHFP recipe, put the rack and 2 to 3 inches of hot water in the canner (or what your maker specifies), load jars, lock the lid and vent steam for 10 minutes. Then add the weight or close the petcock, start timing only once the recipe's pressure is reached, hold it, and let the canner cool down on its own.
Gear for this job
All 7 picks compared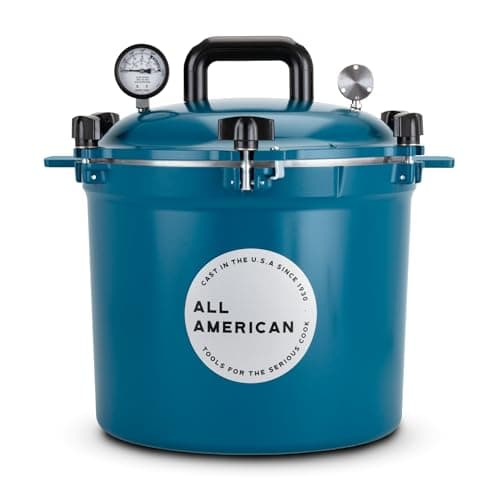
All American 921: 21.5 qt, gasketless metal seal
See price on AmazonSee it on Amazon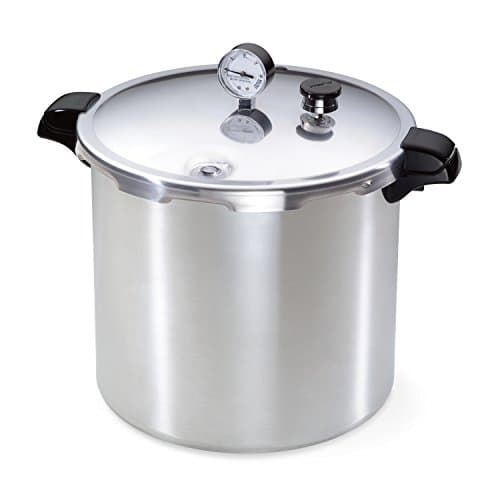
Presto 01781: 23 qt, 7 quarts, dial gauge
See price on AmazonSee it on Amazon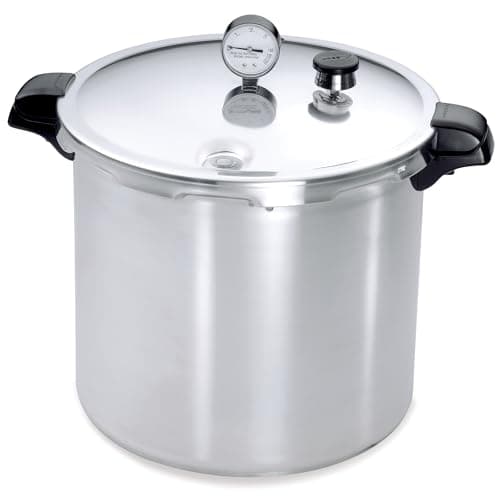
Presto 01784: 23 qt canner that works on induction
See price on AmazonSee it on Amazon
Pressure canning is the only safe home method for low acid foods such as vegetables, meat, poultry, seafood, beans and soups. Those foods can carry Clostridium botulinum spores that survive boiling, and only the higher temperature inside a pressure canner destroys them. This guide walks a beginner through the USDA steps in order. It does not give processing times. Those come only from a tested recipe from the USDA Complete Guide to Home Canning, NCHFP or another tested source, and you should follow that recipe exactly.
How a pressure canner works
Water boils at 212 F at sea level, and boiling water cannot get hotter than that. In a sealed pressure canner, steam pressure raises the boiling point, so the jars reach about 240 F at the recipe's pressure. That temperature, held for the tested time, is what makes low acid food safe to store at room temperature.
Venting matters because air trapped in the canner gives a pressure reading without the full temperature. That is why every USDA process starts with 10 minutes of venting. Learn the parts on your canner before you start: lid, gasket or metal to metal seal, vent pipe, weighted or dial gauge, overpressure plug and rack. See weighted vs dial gauge canners if you are unsure which you have.
Before you start
- A tested recipe from USDA, NCHFP or a canning guide based on them. Do not adapt grandma's times or blog recipes.
- A canner the USDA considers a pressure canner: one that holds at least four quart jars standing on the rack. See what size pressure canner you need.
- Your altitude, to choose the right pressure. Use our pressure by altitude tool.
- A dial gauge tested for accuracy this season, if your canner has one. See pressure canner gauge testing.
- A clean gasket in good shape (if your canner uses one), a clear vent pipe and the jar rack.
- Canning jars without chips, new lids and bands, a jar lifter and a headspace tool.
How to use a pressure canner step by step
- 1
Prepare food and jars exactly as the tested recipe says, including headspace. Wipe jar rims clean and apply lids and bands.
- 2
Put the rack in the canner and add 2 to 3 inches of hot water, or the amount your canner's manual specifies. See how much water in a pressure canner.
- 3
Place filled jars on the rack using a jar lifter. Keep them upright.
- 4
Fasten the lid securely. Leave the weight off the vent pipe, or open the petcock.
- 5
Heat on high until steam flows freely from the vent. Let it vent steadily for 10 minutes.
- 6
Place the weight on the vent pipe or close the petcock. The canner will pressurize over the next few minutes.
- 7
Start timing only when the dial gauge shows the recipe's pressure, or when the weighted gauge jiggles or rocks as the maker describes.
- 8
Adjust heat to hold the pressure at or slightly above the target for the full time.
- 9
If pressure drops below the target at any point, bring it back up and restart the timing from zero.
- 10
When time is up, turn off the heat. If you can lift it safely, move the canner off the burner. Let it depressurize on its own. Do not cool it with water or open the vent.
- 11
When the canner is fully depressurized (dial at zero, lid lock dropped), remove the weight or open the petcock. Wait 10 minutes, then unlock the lid and lift it so steam goes away from you.
- 12
Lift jars out with a jar lifter and set them upright on a towel with space between them. Do not tighten bands. Let them cool undisturbed for 12 to 24 hours.
Note.Do not force cool a pressure canner, open it under pressure, or remove the weight early. Forced cooling is part of why jars lose liquid or fail to seal, and the cool down period is counted as part of the tested process.
Pressure by altitude
The pressure you use depends on your altitude and gauge type. Processing time does not change with altitude in USDA tables; only the pressure does. Always check the table in your specific tested recipe, because a few products list different values.
0 to 1,000 ft
Weighted gauge10 psi
Dial gauge11 psi
1,001 to 2,000 ft
Weighted gauge15 psi
Dial gauge11 psi
2,001 to 4,000 ft
Weighted gauge15 psi
Dial gauge12 psi
4,001 to 6,000 ft
Weighted gauge15 psi
Dial gauge13 psi
6,001 to 8,000 ft
Weighted gauge15 psi
Dial gauge14 psi
8,001 to 10,000 ft
Weighted gauge15 psi
Dial gauge15 psi
| Altitude | Weighted gauge | Dial gauge |
|---|---|---|
| 0 to 1,000 ft | 10 psi | 11 psi |
| 1,001 to 2,000 ft | 15 psi | 11 psi |
| 2,001 to 4,000 ft | 15 psi | 12 psi |
| 4,001 to 6,000 ft | 15 psi | 13 psi |
| 6,001 to 8,000 ft | 15 psi | 14 psi |
| 8,001 to 10,000 ft | 15 psi | 15 psi |
After canning: check seals and store
After 12 to 24 hours, remove the bands and press the center of each lid. A sealed lid is curved down and does not flex. Lift the jar by the lid edge with your fingers; a sealed lid holds. Refrigerate any jar that did not seal and use it within a few days, or reprocess it within 24 hours with a new lid following the recipe.
Wash and dry sealed jars, label them with contents and date, and store them in a cool, dark, dry place without bands. NCHFP advises best quality within one year. More in jars not sealing after pressure canning and how long home canned foods last.
Note.Do not taste or use any jar with a bulging lid, broken seal, leaking, spurting liquid, mold or an off smell. Discard it carefully as USDA and NCHFP describe for suspected botulism contamination.
Common beginner mistakes
If you are still choosing a canner, see best pressure canners. For the differences from water bath canning, see pressure canner vs water bath canner and what foods need pressure canning.
- Skipping or shortening the 10 minute vent
- Starting the timer before the canner reaches pressure
- Not restarting the timer after a pressure drop
- Using an untested recipe, or thickening with flour or adding extra low acid ingredients
- Using an untested dial gauge
- Opening the canner or removing the weight before it fully depressurizes
- Using a pressure cooker or electric multicooker that is not approved for canning
Frequently asked questions
How long do you vent a pressure canner? USDA and NCHFP direct you to let steam flow freely from the open vent for 10 minutes before adding the weight or closing the petcock.
When do I start timing? Only when the canner reaches the pressure your tested recipe lists for your altitude. If pressure drops below it, restart the timing from zero.
How much water goes in a pressure canner? Usually 2 to 3 inches of hot water, but follow your canner manual if it gives a different amount.
Can I make up my own processing time? No. Use only times from a tested USDA, NCHFP or equivalent recipe. Times depend on the food, jar size and pack style, and cannot be safely guessed.
What you need for this
- See price on AmazonAmazon
All American 921: 21.5 qt, gasketless metal seal