Explainer
How much water goes in a pressure canner?
Published
Short answer
For most foods, USDA guidance is to put 2 to 3 inches of hot water in the bottom of a stovetop pressure canner, unless your canner's manual or the specific tested recipe says otherwise. Jars sit on the rack and are not covered with water, because steam under pressure does the heating. Some recipes, such as smoked fish, call for more water, and electric canners have their own fill instructions.
Gear for this job
All 7 picks compared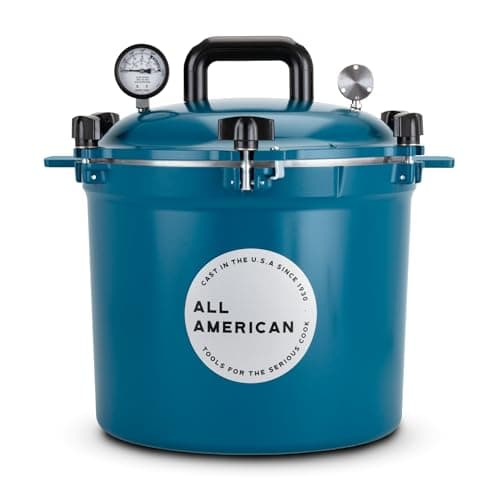
All American 921: 21.5 qt, gasketless metal seal
See price on AmazonSee it on Amazon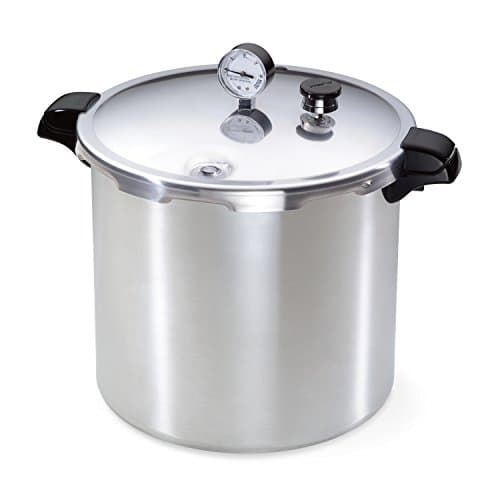
Presto 01781: 23 qt, 7 quarts, dial gauge
See price on AmazonSee it on Amazon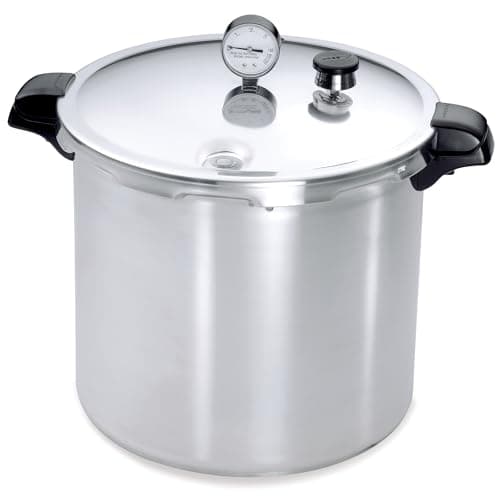
Presto 01784: 23 qt canner that works on induction
See price on AmazonSee it on Amazon
This page is for home canners who are unsure how much water belongs in a pressure canner, especially if you learned water bath canning first, where jars are fully covered. We cover the USDA starting point, why your canner manual and the recipe can change it, the right water temperature for raw and hot packed jars, what happens if you use too little or too much, and electric canners. If you are new to the whole process, start with how to use a pressure canner.
The USDA starting point: 2 to 3 inches
The USDA Complete Guide to Home Canning tells you to put 2 to 3 inches of hot water in the canner for most pressure canning processes. The jars stand on a rack above the canner floor, the lid is locked on, and the water turns into steam. Once the canner is vented and pressurized, that steam surrounds the jars and heats them to temperatures above the boiling point of water at sea level.
That is very different from a water bath canner, where boiling water must cover the jars by at least an inch. In a pressure canner, steam is the heating medium, so the jars do not need to be submerged. See pressure canner vs water bath canner for how the two methods differ.
When to use more or different amounts
Two sources can override the general rule, and you should check both before every batch.
- Your canner's manual: some makers specify a particular volume (for example, a number of quarts) for their models. Follow the manual for your exact canner.
- The tested recipe: some USDA and NCHFP processes, such as those for smoked fish, call for more water in the canner than usual. When a tested recipe gives a water amount, use it.
- Long processes: the water must not boil dry during the process time. Recommended amounts already account for that when you vent and process correctly.
Note.Use only tested recipes from the USDA Complete Guide to Home Canning, the National Center for Home Food Preservation or your canner maker's current manual. Do not guess processing times or pressures. Under-processed low acid food can carry botulism toxin without any sign of spoilage.
Water temperature matters too
The water should be warm or hot when the jars go in, to avoid thermal shock that can crack jars. NCHFP guidance is to have the water at about 140 F for raw packed jars and about 180 F for hot packed jars. Jars go in as soon as they are filled and lidded.
Many canners also add a small splash of white vinegar to the canner water to help prevent a white mineral film on jars when using hard water. This is optional and does not affect safety. See why jars break in a pressure canner for more on cracked jars.
Raw pack (cold or raw food in jars)
Canner water temperature at loadingAbout 140 F
Hot pack (heated food in jars)
Canner water temperature at loadingAbout 180 F
| Pack style | Canner water temperature at loading |
|---|---|
| Raw pack (cold or raw food in jars) | About 140 F |
| Hot pack (heated food in jars) | About 180 F |
What goes wrong with too little or too much
Too little water risks the canner boiling dry during venting and processing. A dry canner can be damaged, the process may not hold steady temperature, and jars can break. If you see the canner run dry, turn off the heat and let it depressurize naturally; the batch should be treated as under-processed and reprocessed or refrigerated according to USDA guidance.
Too much water is less dangerous, but it lengthens the time to bring the canner up to pressure, and very high water levels may reach the lids and make liquid loss more likely. Stick to the recommended amount instead of adding extra for insurance.
- Too little: risk of boiling dry, damaged canner, unreliable process
- Too much: slower heat up, possible siphoning, wasted energy
- Right amount: follows the manual and the tested recipe
Steps around the water
Pressure depends on your altitude and gauge type. Use our USDA altitude pressure tool to look it up, and take the processing time from the tested recipe.
- 1
Put the rack in the canner and add 2 to 3 inches of water, or the amount your manual or recipe specifies.
- 2
Heat the water to about 140 F for raw pack or 180 F for hot pack.
- 3
Load filled, lidded jars onto the rack.
- 4
Lock the lid with the vent open or weight off, and heat until steam flows freely.
- 5
Vent steam for 10 minutes, then close the vent or place the weight.
- 6
Bring to the pressure for your altitude and start timing only when it is reached.
- 7
At the end, turn off the heat and let the canner depressurize naturally before opening.
Electric pressure canners
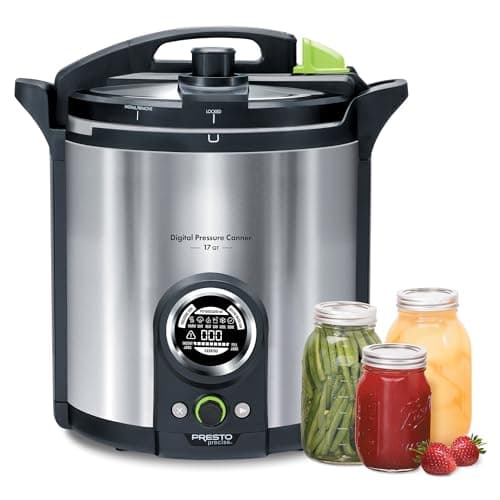
Electric pressure canners designed and marketed for home canning come with their own instructions for water amount, venting and processing. Follow that manual exactly. NCHFP does not recommend using electric multicookers, such as general purpose pressure cookers, for pressure canning, because they have not been shown to produce safe processes. See can you pressure can in an Instant Pot.
If you are shopping for a canner, our best pressure canners and best electric pressure canners guides compare current models, including stovetop units that work on glass tops.
Frequently asked questions
Should water cover the jars in a pressure canner? No. For most processes, 2 to 3 inches of water is enough. The jars are heated by steam under pressure, not by being submerged.
What if my canner manual says a different amount? Follow the manual for your canner, and follow the tested recipe if it specifies an amount. Both take priority over the general rule.
Can I add water during processing? No. You cannot open a pressurized canner. Start with the right amount so it does not boil dry.
Why is there white film on my jars? Hard water minerals. A little vinegar in the canner water helps, and the film is harmless.