Fix
Why jars break in a pressure canner
Published
Short answer
Jars usually break in a pressure canner from thermal shock (a big, sudden temperature difference between the jar and its surroundings), jars sitting directly on the canner bottom without a rack, hidden cracks or chips in older jars, or forcing the canner to cool. Warm jars before filling, always use the rack, inspect every jar, and let the canner depressurize on its own.
Gear for this job
All 7 picks compared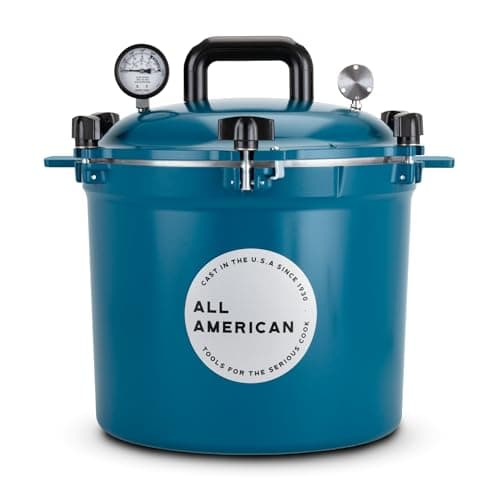
All American 921: 21.5 qt, gasketless metal seal
See price on AmazonSee it on Amazon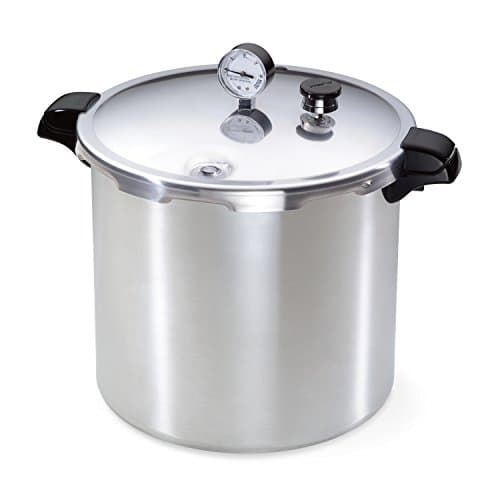
Presto 01781: 23 qt, 7 quarts, dial gauge
See price on AmazonSee it on Amazon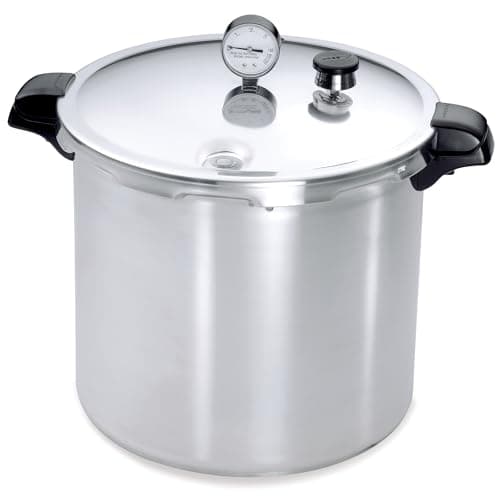
Presto 01784: 23 qt canner that works on induction
See price on AmazonSee it on Amazon
Finding a cracked jar and a canner full of floating food is a common pressure canning setback. Glass handles high heat well, but it does not like sudden changes or uneven stress. This page is for home canners using stovetop pressure canners such as Presto and All American models. It covers the main reasons jars break, what the break pattern can tell you, how to prevent each cause, and what to do with the rest of the batch when one jar fails.
Common causes and how to prevent them
Most breaks come from one of the first three rows. Check those first.
Thermal shock on loading
What happensCold jars meet hot water, or hot food goes into cold jars
PreventionKeep jars warm until filling; match jar and water temperature
No rack in the canner
What happensJars sit on the hot base and take direct heat
PreventionAlways use the canner rack
Hidden cracks or chips
What happensWeak spots fail under heat and pressure
PreventionInspect every jar and rim before use
Non canning jars
What happensThinner glass not made for repeated heating
PreventionUse jars made for home canning
Forced cooling
What happensRunning water on the canner or opening early
PreventionLet pressure drop to zero naturally
Cold surface or draft after removal
What happensHot jars set on cold counter or in a draft
PreventionSet jars on a towel or rack away from drafts
Overfilled jars
What happensFood expands and strains the jar
PreventionUse the headspace in the tested recipe
Jars touching the canner wall or each other tightly
What happensUneven heating and knocking
PreventionLoad as the manual shows with space for steam
| Cause | What happens | Prevention |
|---|---|---|
| Thermal shock on loading | Cold jars meet hot water, or hot food goes into cold jars | Keep jars warm until filling; match jar and water temperature |
| No rack in the canner | Jars sit on the hot base and take direct heat | Always use the canner rack |
| Hidden cracks or chips | Weak spots fail under heat and pressure | Inspect every jar and rim before use |
| Non canning jars | Thinner glass not made for repeated heating | Use jars made for home canning |
| Forced cooling | Running water on the canner or opening early | Let pressure drop to zero naturally |
| Cold surface or draft after removal | Hot jars set on cold counter or in a draft | Set jars on a towel or rack away from drafts |
| Overfilled jars | Food expands and strains the jar | Use the headspace in the tested recipe |
| Jars touching the canner wall or each other tightly | Uneven heating and knocking | Load as the manual shows with space for steam |
Thermal shock and how to avoid it
Glass expands as it heats. If one part of a jar heats or cools much faster than another, the stress can crack it. The classic mistakes are putting cold jars into a canner of hot water, filling cold jars with boiling food, or setting cold packed jars into water that is too hot.
Keep clean jars warm until you fill them, for example in hot water or a dishwasher on a heated cycle. Follow the tested recipe and your canner manual for water temperature at loading. A common rule from Extension guidance is to have the canner water hot, not boiling, for hot packed food, and warm for raw packed food, so jar and water temperatures are close. Lower jars in gently with a jar lifter and keep them upright.
Note.A canner with broken jars is still full of hot water and steam. Let it cool and depressurize fully before you open it, and protect your hands and eyes from broken glass.
The rack and jar placement
Every pressure canner comes with a flat rack for a reason. It lifts the jars off the base so water can circulate under them and they are not sitting directly on the hottest surface. Canning without a rack is a common reason jars crack across the bottom. If you lost your rack, buy the replacement made for your canner.
Do not pack jars so tightly that they press against each other or the walls. Some canners hold a second layer of pint or half pint jars; if yours does, use a second rack between layers as the manual says. See what size pressure canner you need if you are short on space.
Old, chipped and non canning jars
Canning jars can be reused for years, but each heating cycle adds stress. Before every batch, run a finger around each rim to feel for nicks, and hold the jar to the light to look for hairline cracks, scratches and bubbles in the glass. Retire any jar with damage, even if it seems minor.
Commercial food jars, such as those from mayonnaise or pasta sauce, are often made from thinner glass meant for one use. They may break more readily and may not match standard canning lids well. USDA guidance is to use jars made for home canning.
Cooling the canner the right way
When processing time ends, turn off the heat and let the canner sit until the pressure returns to zero on its own. Do not run cold water over it, set it on a cold surface or remove the weight early. Forced cooling can crack jars, cause liquid to siphon out, and can make the food unsafe because the cool down time is part of the tested process.
After the pressure is down, follow your canner maker's instructions for removing the weight and opening the lid. Lift jars out upright without tilting, set them on a towel or wooden board an inch or two apart, out of drafts, and leave them alone for 12 to 24 hours. See how to use a pressure canner for the full sequence.
What to do with the rest of the batch
More on seal problems in jars not sealing after pressure canning. If you are also seeing pressure drops during processing, check pressure canner losing pressure.
- 1
Let the canner cool and depressurize completely before opening.
- 2
Lift out the intact jars and set them aside to cool undisturbed.
- 3
Check intact jars for cracks and seals after 12 to 24 hours.
- 4
Discard the contents of any broken jar and any jar with glass chips nearby. Do not try to save food that touched broken glass.
- 5
Clean the canner thoroughly, including the rack and vent pipe, before the next batch.
- 6
Any jar that did not seal can be refrigerated and used soon, or reprocessed within 24 hours with a new lid. See jars not sealing after pressure canning.
Frequently asked questions
Why did the bottom of my jar break off cleanly? A clean break across the bottom often points to thermal shock or a jar sitting without a rack.
Can I use the food from jars that did not break? If they sealed and the canner went through the full tested process, yes. Inspect them for cracks first.
Can I reuse canning jars? Yes, if they are made for canning and have no chips or cracks. Lids for two piece systems are single use.
Can I cool the canner faster to save time? No. Natural cool down is part of the tested process and protects both the jars and the safety of the food.
What you need for this
- See price on AmazonAmazon
All American 921: 21.5 qt, gasketless metal seal