How-to
How to use a vacuum sealer
Published
Short answer
Cut or choose a bag with a few inches of extra length, fill it without getting food on the mouth, pre-freeze wet or soft foods, then lay the open end flat across the seal strip and run the vacuum and seal cycle. Check that the seal is a smooth, unbroken band. Vacuum sealed perishable food still needs refrigeration or freezing.
Gear for this job
All 7 picks compared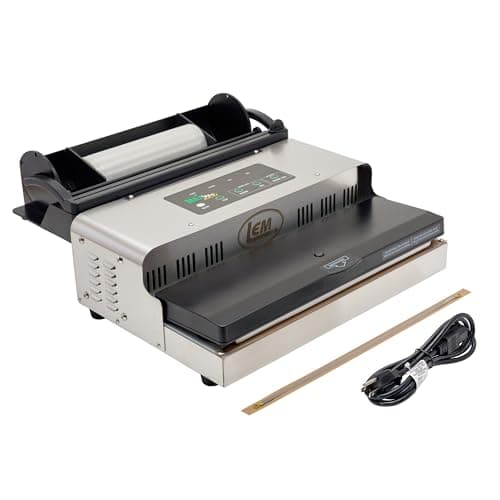
LEM MaxVac 1000: 24 Hg and 1000 seals in a row
See price on AmazonSee it on Amazon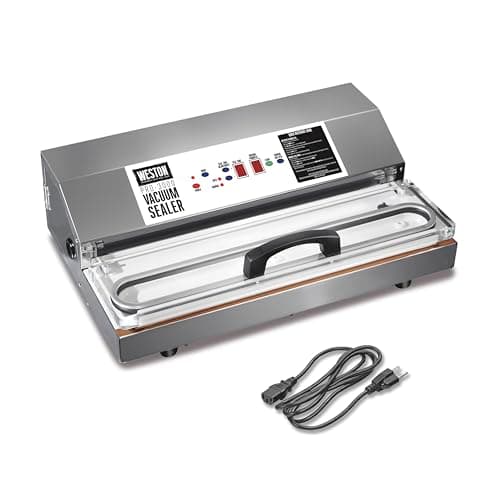
Weston Pro-3000: programmable seal time, 15 in bags
See price on AmazonSee it on Amazon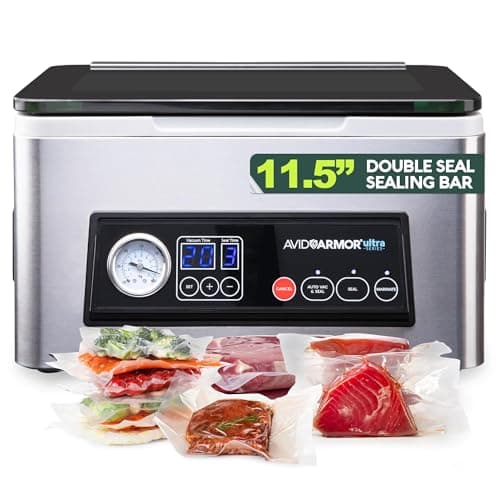
Avid Armor USV20: the chamber alternative
See price on AmazonSee it on Amazon
This page is for first time vacuum sealer owners and anyone getting weak seals or crushed food. It covers the steps for edge sealers such as FoodSaver, Weston and LEM, how chamber sealers differ, and how to handle wet foods, delicate foods and sharp foods. It also covers the food safety rules that vacuum sealing does not change. Your sealer's manual is the final word on settings and wait times.
Edge sealers vs chamber sealers
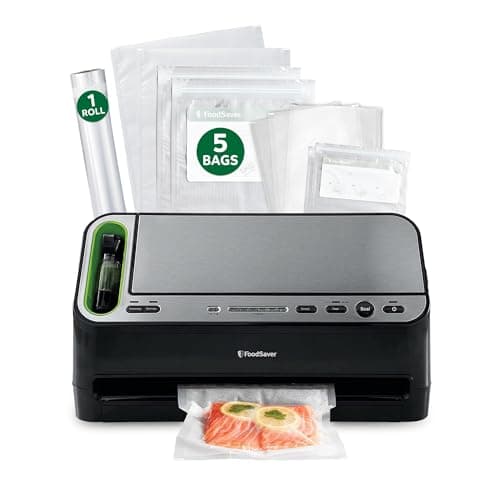
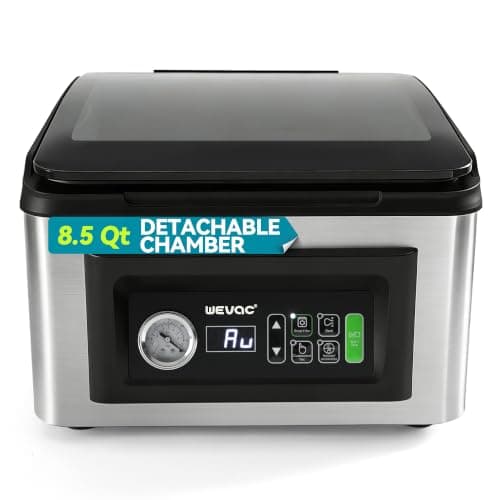
An edge sealer, also called an external or suction sealer, pulls air out through the open end of a textured bag that hangs outside the machine. A chamber sealer puts the whole bag inside a chamber, pulls the air out of the chamber and bag together, then seals. Chamber sealers handle liquids far better and use cheaper smooth pouches.
The steps below focus on edge sealers, since they are the most common. Chamber notes follow. For how the two differ in depth, see chamber vs edge vacuum sealers.
What you need
- Your vacuum sealer, plugged in and on a flat, dry counter
- Textured bags or rolls for an edge sealer, or smooth pouches for a chamber sealer
- Scissors if you use rolls
- Paper towels for wiping bag mouths
- A marker for labeling contents and date
- Baking sheet with parchment for pre-freezing soft or wet foods
How to vacuum seal with an edge sealer
- 1
If using a roll, seal one end first to make the bottom of the bag. Cut the bag long enough to leave about 3 inches of empty space above the food, plus room to reseal later if you want.
- 2
Fold the top of the bag back like a cuff and fill it. This keeps juice and crumbs off the seal area.
- 3
Unfold the cuff and wipe the inside of the bag mouth dry.
- 4
Lay the food flat in the bag in an even layer so it freezes and stacks well.
- 5
Open the lid and place the open end across the vacuum channel and seal strip. Keep it flat with no wrinkles.
- 6
Close and lock the lid. Choose dry or moist mode if your sealer has it.
- 7
Press vacuum and seal. Watch the bag. For soft foods, press seal early to stop crushing.
- 8
When the cycle ends, open the lid and check the seal: an even, clear band with no gaps.
- 9
Label the bag and refrigerate or freeze it right away.
- 10
Wait between seals as the manual says so the strip does not overheat.
Wet, soft and sharp foods
Wet foods. Raw meat with juice, soups, sauces and marinades will pull toward the pump on an edge sealer and ruin the seal. Freeze them on a tray or in the open bag until firm, then seal. Some sealers have a liquid or moist mode that helps a little. A chamber sealer seals liquids directly.
Soft foods. Bread, berries, cake and some cooked foods get crushed by full vacuum. Freeze them first or use the manual seal button to stop the vacuum early.
Sharp foods. Bones, shells, dry pasta and freeze dried food can puncture bags. Wrap sharp edges in paper towel or use thicker bags.
Using a chamber sealer
If you seal a lot of liquids, see best vacuum sealers for liquids. Oil pump models also need occasional care; see chamber vacuum sealer pump oil.
- 1
Fill a smooth pouch, leaving headroom. For liquids, chill them first and keep the bag upright.
- 2
Place the bag in the chamber with the open end across the seal bar. Use a filler plate if your model has one to bring the bag level with the bar.
- 3
Set vacuum time and seal time as your manual suggests, then close the lid.
- 4
The machine pulls the vacuum, seals and releases air back into the chamber. Check the seal and remove the bag.
Food safety rules vacuum sealing does not change
Vacuum sealing removes air, which slows freezer burn and some kinds of spoilage. It does not make perishable food shelf stable. Some harmful bacteria, including Clostridium botulinum and Listeria, can grow without air. Keep vacuum sealed meat, fish, cheese, cooked food and fresh produce in the refrigerator or freezer just as you would in any other package.
Freezing times are the same as USDA guidance for frozen food. Vacuum sealing helps keep quality longer within those times. See how long vacuum sealed meat lasts and our storage life by method tool.
Note.Do not store vacuum sealed raw garlic, fresh herbs in oil, or low acid cooked foods at room temperature. Thaw vacuum sealed fish in the refrigerator, and open the bag first if the label or FDA guidance calls for it.
Frequently asked questions
How much space should I leave in a vacuum sealer bag? Leave about 3 inches above the food so the bag lies flat across the strip. Add more if you want to reopen and reseal the bag later.
Why does my vacuum sealer crush bread? Full vacuum compresses soft foods. Freeze them first or press the manual seal button to stop the vacuum early.
Can you vacuum seal liquids? Freeze them first for an edge sealer, or use a chamber sealer, which can seal liquids directly.
Does vacuum sealed food need to be refrigerated? Yes, for perishable foods. Vacuum sealing does not replace refrigeration or freezing.